How Using a Different Waterpik Tip Helps Your Teeth
Today, Waterpiks are more popular than ever. Waterpiks come in a variety of sizes and functions, but they always come with a motor, a pump, a water reservoir, and a specific water flosser tip. Waterpiks use a stream of water to clean plaque, food particles, and bacteria from the mouth. They also produce a pulsing effect that stimulates the gum tissue.
When to Use a Waterpik
If you don't enjoy or find traditional floss difficult to use, or if you don't floss as often as you should, using a Waterpik may be the correct choice for you. Water flossing is likely to be easier and more fun than standard floss, so you'll probably use it more often as a result.
Before brushing your teeth, a Waterpik is the best time to utilize it. This is because you may remove food residue and plaque this way. Brushing your teeth becomes more effective when you use a Waterpik before doing so. We recommend using a Waterpik before going to bed in the evening because you normally go the longest without eating or drinking overnight.
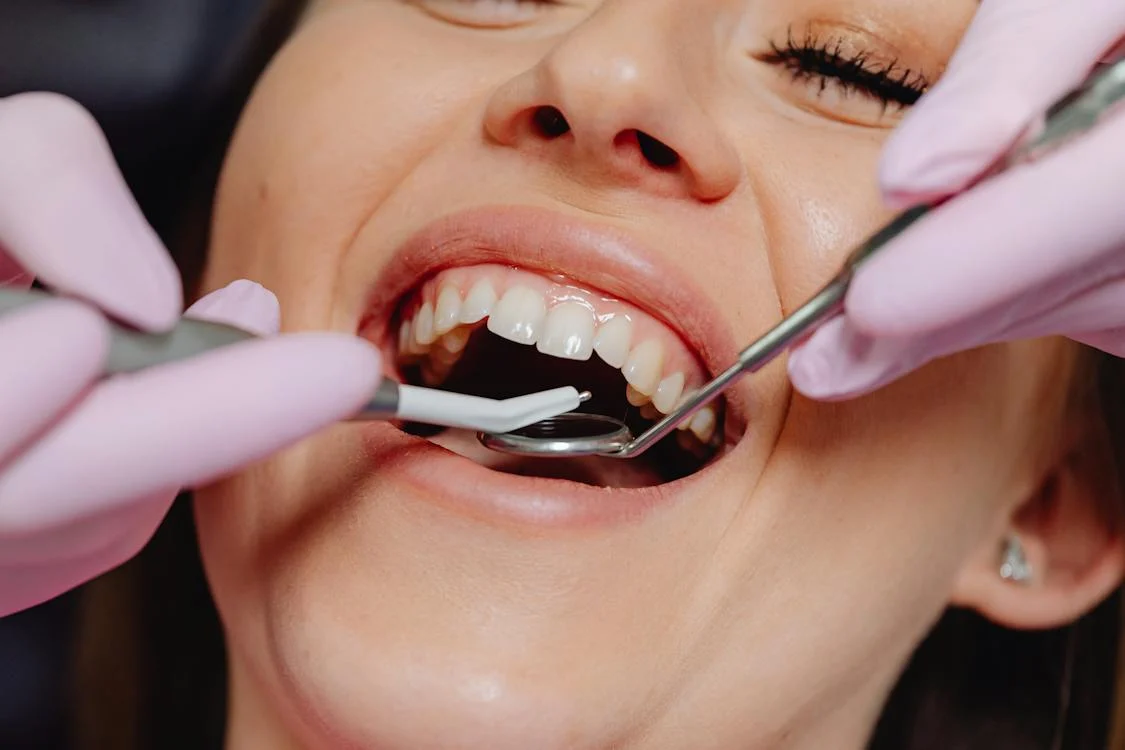
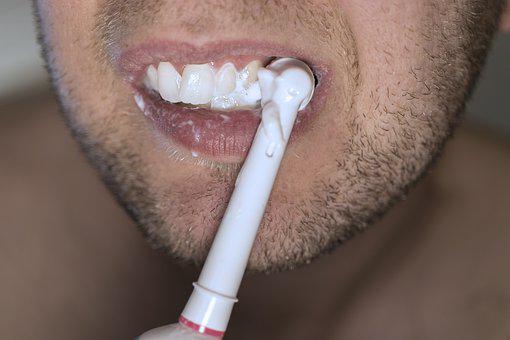
To use the water flosser, simply place the tip in your mouth, seal your lips almost completely, and lean over a sink. Floss along your gum line and between your teeth once the electricity is turned on. Make sure the water from your mouth drains into the sink.
Uses of Different Waterpik Tip
- The Classic Jet Tip is the most common tip used in everyday situations. It cleans between teeth and below the gum line, preventing gum disease and improving oral health. Start with the back teeth and work your way down the gum line, pausing slightly between each tooth and aiming the tip at a 90-degree angle at the gum line. Allow the water to flow freely to eliminate plaque and debris by holding the tip slightly away from the gums.
- The Orthodontic Tip includes a tapered brush on the end to assist remove plaque from braces and orthodontics. It also aids in the removal of microorganisms and food debris from between the teeth and beneath the gums. Clean the gum line gently, pausing briefly to lightly brush the area between the teeth and all around the orthodontic bracket or appliance, then moving on to the next tooth.
- Plaque is removed from all sorts of dental work and hard-to-reach areas using the Plaque Seeker® Tip. It contains three thin bristle tufts that gently clean around dental implants, crowns, bridges, and veneers. Place the tip of the brush against your teeth, so the bristles are gently contacting your teeth. Lightly slide the tip of the water floss along the gum line, pausing short between teeth to brush gently and allow the water to flow between the teeth.
- The Pik PocketTM Tip is designed to administer water or antibacterial treatments deep into periodontal pockets as directed by your dentist. Set the pressure to the lowest level with the machine turned off. Place the soft tip at a 45-degree angle against the tooth and gently place it under the gumline, into the pocket. To clean, turn on the power. The Tongue Cleaner's spoon-like form effectively captures and eliminates bacteria from the tongue, helping to avoid bad breath.
- The Implant Denture Tip is designed to clean fixed implant bridges and dentures in difficult-to-reach locations. To use, insert the tip on one end of the implant retained denture on the lingual (tongue) side. The tip should be positioned between the natural gum tissue and the denture. Glide the tip of the denture cleaner along the space between the natural gum tissue and the denture until you've cleaned underneath the denture all the way around.
The American Dental Association suggests flossing at least once a day and brushing your teeth at least twice a day to maintain good oral health. There are many different waterpik tips to choose from if you have braces, implants, bridges, crowns, or other dental work that is difficult to keep clean and ones that you can take with you when you're away from home or traveling.
You may want to use your Water Flosser more than once per day if you have braces, implants, bridges, crowns, or other dental work that is difficult to keep clean. When you need to clean and floss around braces, orthodontic appliances, or dental procedures, use the Waterpik® Water Flosser.
How to Use Waterpik
Fill the water reservoir with warm water to the highest level allowed, so you don't have to replenish while cleaning. Warm water is significantly more pleasant to use, especially if you have sensitive teeth. If the water in the line has been sitting out for a while, it may be necessary to flush it as well. With the Classic Jet Tip, set the pressure dial to High Pressure (at least 8). If your gums are inflamed, high pressure may feel too much the first few times you use it, so start at a low setting and gradually increase.
When you turn it on, make sure your thumb is on the pause button. To avoid splashing, clean with your mouth slightly closed and the water running out into the sink, or keep your mouth completely closed and pause to spit out the water from time to time. Using the Waterpik on high will help to flush things out.
When you need to clean and floss around braces, orthodontic appliances, or dental procedures, use the Waterpik® Water Flosser. For more severe locations, like as periodontal pockets, the special Pik Pocket® Tip may be required. To summarize, frequent use helps you keep a healthy smile by properly cleaning the most vital area of your mouth - in-between your teeth. The most compelling argument to use a Waterpik is that it is typically easier to use than wax floss on a daily basis, making it more likely that patients will stick with it.