Guide to Proper Flossing
One of the most important parts of dental hygiene is flossing. It cleans and removes food particles stuck between the teeth, reducing the number of plaque and bacteria in your mouth. Plaque is the sticky build-up of film on teeth that causes gum disease and cavities.
People have a habit of brushing their teeth every day, but not everyone flosses regularly as brushing. Although, it's not enough to just floss. It's essential to know how to do so correctly.
Incorrect flossing technique may damage your gums and teeth. To ensure that you're following the correct way to clean between the teeth, here's a guide on the proper way of flossing.
How to floss properly
- Cut a length of dental floss for around 18-24 inches. To correctly hold it, wind most of it around your two middle fingers. Leave an allowance of 1-2 inches for your teeth.
- Keep the floss taut with your index fingers and thumbs.
- Put the floss in between two of your teeth. Gently glide it up and down and rub it against the sides of both teeth. Don't slide it into your gums, as it can bruise or scratch them.
- Curve the dental floss at the base of your tooth as it touches your gums to form a C shape, allowing it to enter the space between the tooth and gums.
- Redo the steps as you go from one tooth to another. Use a new, clean segment of floss for each tooth.
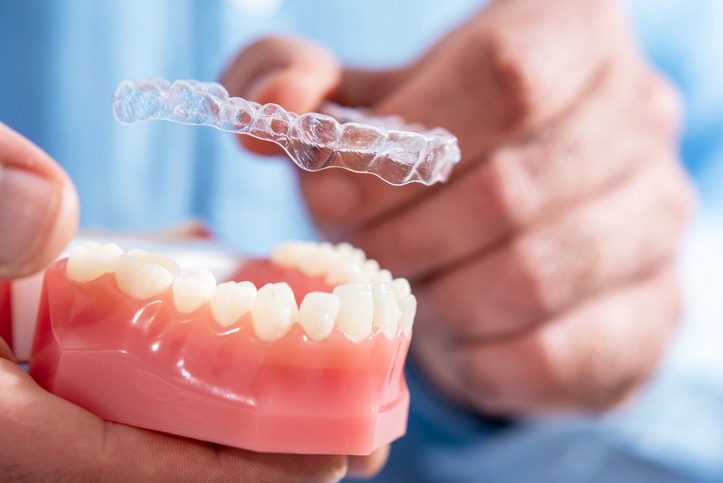
Flossing with braces
Braces can make flossing tricky. It usually takes more time to do so than without braces. If you're using regular floss, allocate about 10-15 minutes of your for flossing. You can use waxed floss as it's less likely to get stuck inside your braces and tear.
How to floss with braces
- Cut a length of waxed dental floss by around 18-24 inches.
- Floss in front of a mirror so you can ensure the floss is right where you need it to be.
- Begin by threading the dental floss in between the main wire and your teeth. Twist its loose ends around your two index fingers to move it around with ease.
- Gently press the floss between two of your teeth. Move it up and down along the sides of the two teeth.
- When doing the top teeth, try making an upside-down U shape with the dental floss. To do so, go up the side of a tooth until you reach the gumline. Next, glide it down the other tooth's side.
- Carefully unthread and remove the floss from behind the wire. Avoid popping it out of the tooth as you might uproot a wire. Then, move onto the two next teeth and do the same until you've flossed all your teeth.
- Other options, except for waxed floss, that are great for flossing braces include a floss threader or a Waterpik.
When is the right time to floss?
Knowing when to floss also adds to excellent oral health. Some have a routine of brushing their teeth before flossing, but it's more recommended to floss before brushing.
Flossing aids in lifting and releasing plaque and food stuck between the teeth, while brushing takes out the particles from the mouth. If you brush before flossing, the food and plaque will remain inside the mouth until the next brushing.
The American Dental Association advises flossing at least once a day and brushing twice a day.
Types of Dental Floss
There are a lot of varieties of floss. The type that's best for you depends on whether you have braces or bridges, the amount of space between your teeth, and your preferences.
There are types of dental floss that are easier to use in tighter spaces, while others are better in wider spaces.
The different types of floss include:
Standard floss
This floss comes in flavored/unflavored and waxed/unwaxed of thin, nylon strands. If your teeth are close together, a floss with wax coating can make it easier to get in between.
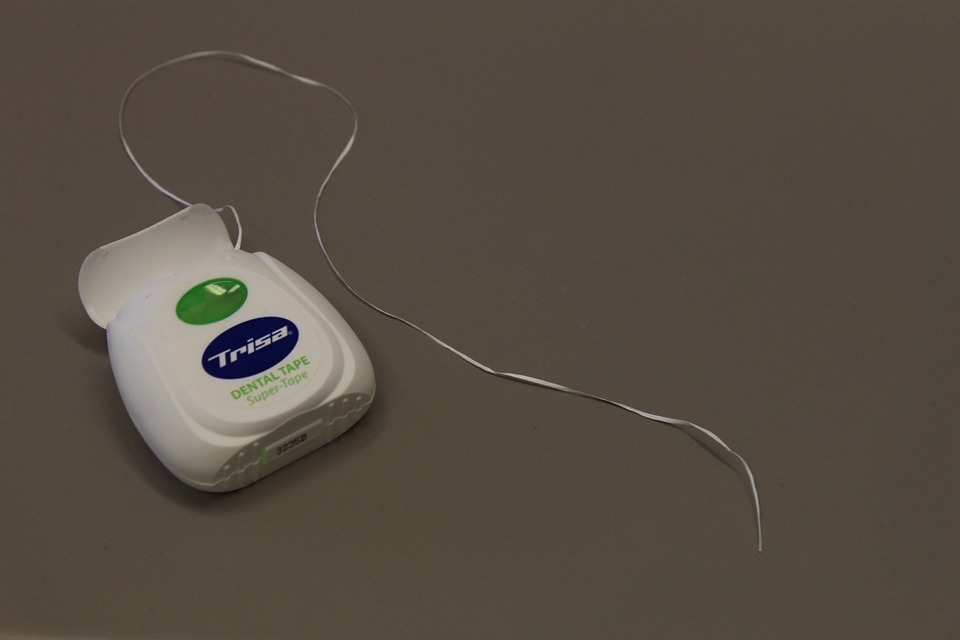
Dental tape
This dental floss is broad and flat, much like a ribbon. This is easier to handle if you have large spaces between your teeth, gaps, or braces.
Super Floss
The super floss threader can be used for gaps, braces, and bridges. It has three elements: regular floss to get rid of plaque underneath the gum line, spongy floss to clean around the dental appliances, and a stiffened end to floss underneath the appliances.
Other tools that make flossing easier
Except for waxed floss, floss threaders, and dental tape, other tools can make flossing your teeth faster and easier.
One option is to use a water flosser or an electric flosser. These tools use water and pressure to remove food and plaque between the teeth. Both tools are great alternatives if you're struggling to use regular floss. Water flossers are also useful for those with braces as they can clean between wires and brackets.
Using disposable floss picks is another option as they're easily maneuvered and can aid in flossing hard-to-reach teeth located at the back of the mouth.